Issue: How can I establish a noise gate (or activation threshold) for Skype, so my microphone won’t transmit any static?
Everytime I use Teamspeak or similar VoIP software, I value the possibility to set a volume level for the activation of my microphone. I find it rather fascinating Skype is not offering a similar option to prevent the microphone from transmitting hissing sounds and noises. As I’m a heavy skype user I was looking for a way to set up a noise gate for skype.
Voicemeeter Banana
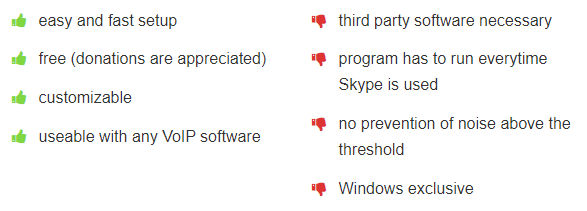
The solution I found was to use the software Voicemeeter Banana to add virtual sound interfaces to your Windows system. This program acts as a virtual audio device mixer and allows you to mix any audio source with any audio application. Hence it gives you the power to choose an input, apply modulation and output the signal as you see fit. There are a few versions of this software available, varying in features. I suppose every version is able to be set up as a noise gate. This article only covers Voicemeeter Banana.
Step 1 – Installation
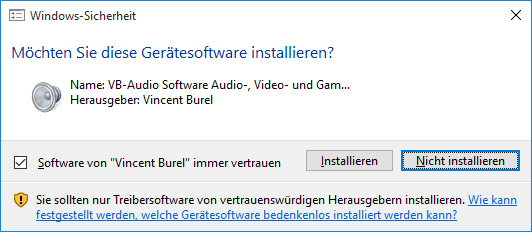
To install Voicemeeter Banana, just visit the link and scroll down until you see a Download and Install button. You may choose to download a zip-file or the installer executable. I chose the executable. After the download just install the program. There will be a notification to confirm the installation of a driver – choose Install:
When the installation is finished you will be prompted to restart your computer. Afterwards open up the program and you will be presented with this interface:
Step 2 – Configuring a noise gate for Skype
To configure the routing of the input signal, click on Hardware Input 1 in the top left corner. In the opening context menu you will be able to choose your input device. Your device will most likely show up with multiple drivers. The official documentation suggests to use KS over WDM over MME. You might want to try different settings here, though. There are 3 Hardware Inputs to use, but we only need 1 for our use case. When you chose a device for your hardware input, you should see a stronger signal appearing left to the Fader Gain slider as you are talking into your microphone. Even when there’s no obvious sound, there should be a weak signal displayed, which represents the noise your microphone is picking up and transmitting.
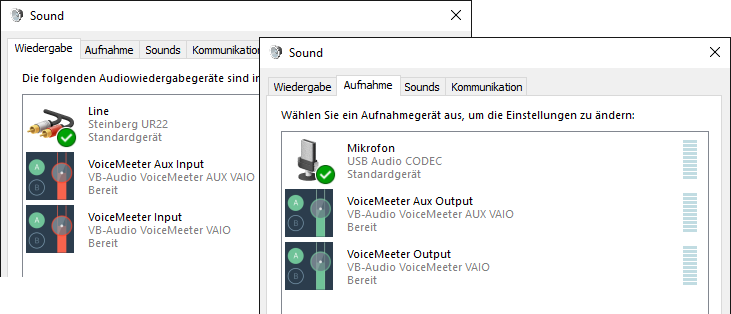
Voicemeeter Banana utilizes a physical and a virtual output. The physical outputs are named A1, A2, A3 – the virtual outputs are named B1 and B2. More detailled information about the routing can be found in the documentation. To achieve a noise gate, we focus on the virtual output (which actually resembles an input device in windows). Those virtual Input and Output devices are added to your windows sound devices by Voicemeeter Banana as mentioned in Step 1:
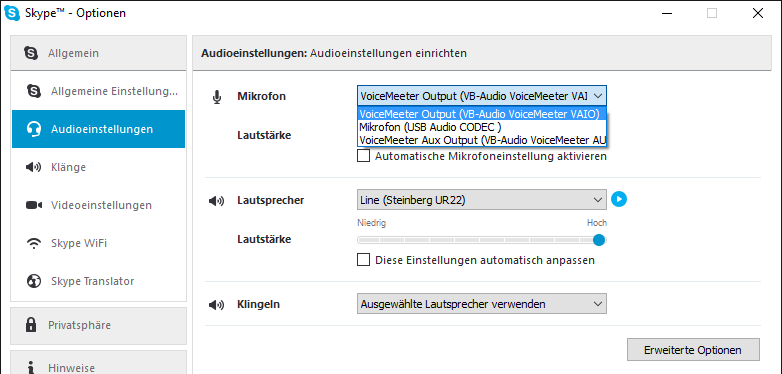
You may still use your default input and output device in Windows. To make Skype use the output of Voicemeeter Banana open up the Skype settings and choose one of the outputs as a microphone. Choose the normal output – not the Aux Output.
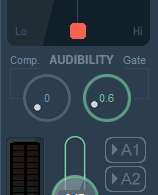
In the Virtual Inputs lane Voicemeeter VAIO matches B1, whereas Voicemeeter AUX matches B2. Make sure B1 is activated in the Hardware Input 1 lane. To set up a noise gate, simply turn up the Gate slider. Depending on the strength of the picked up noise, you will have to adjust the Gate. A value between 0.5 – 1.0 matches my microphone quite good. If you set a value too high, you have to shout into the microphone for it to activate.
The setting on the top right corner to set the Hardware Out is not mandatory, but can be useful to monitor your echo. If you want to listen to your echo, click on A1 and choose your output device here. To send the signal of your chosen input device to the physical output A1, enable the routing by pressing on A1 in the Hardware Input 1 lane. You should now be able to hear yourself. By clicking on A1 again, you disable the echo.
That’s about it. Remember to always start up Voicemeeter Banana when using Skype or any other application you want to use it with.



hello